Find the wallet that fits your scene.
A short Solana skit, a portfolio close-up and a hardware-wallet lesson need different screens. Start with the story, then choose the interface that gives you the shots you need.
The short answer
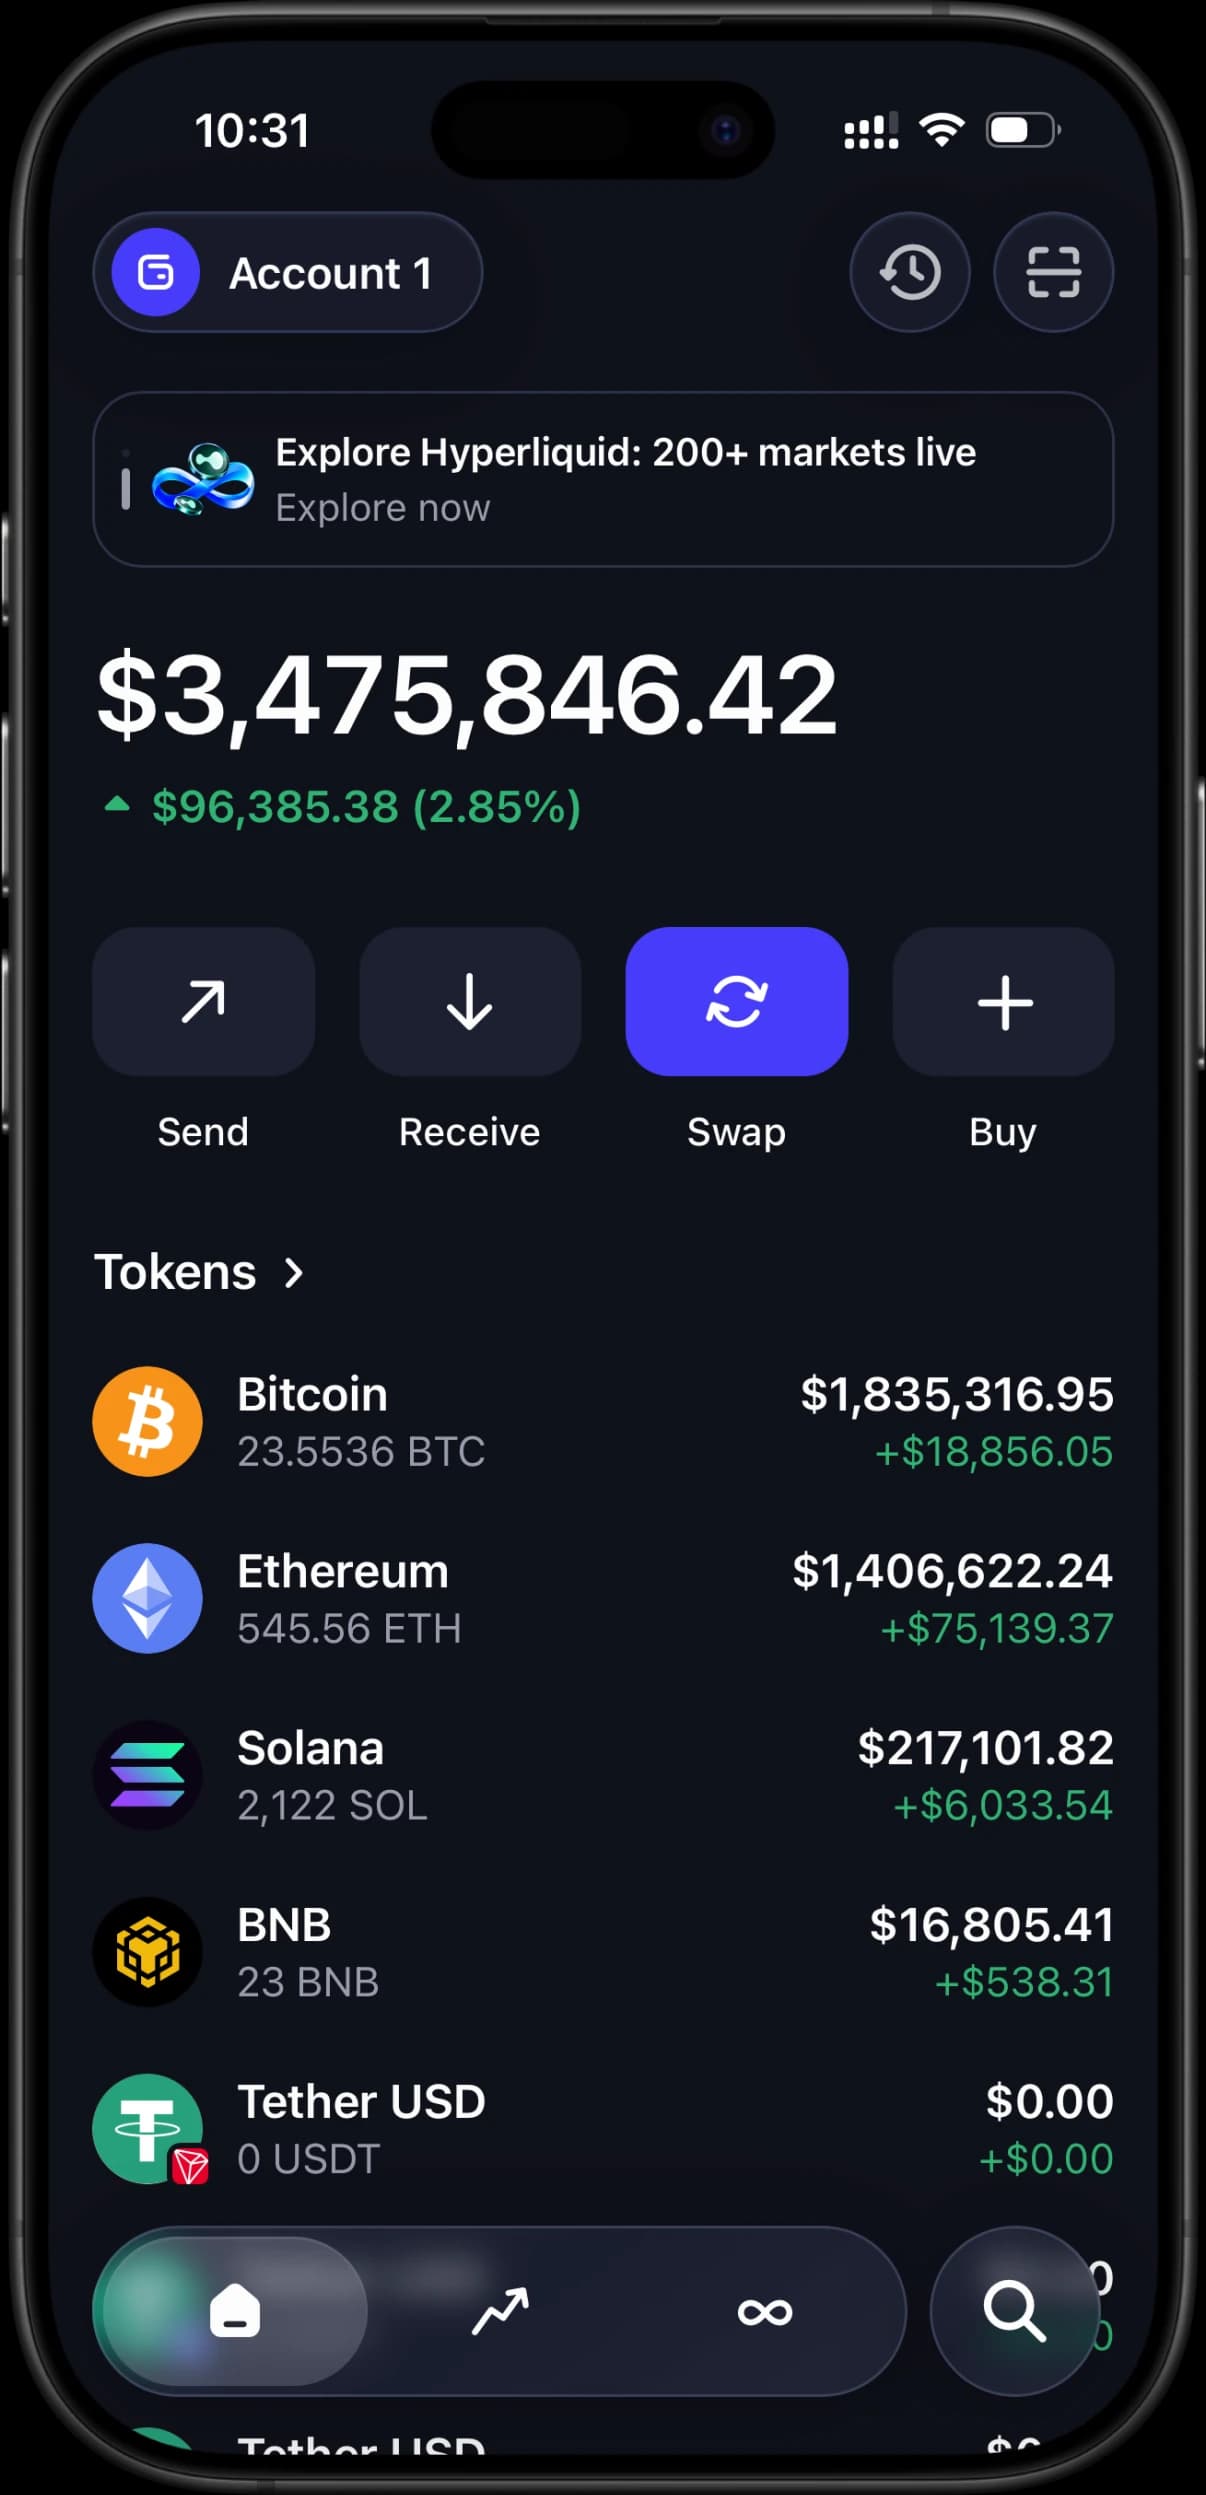
Choose Phantom-style screens for a Solana-focused story, Trust Wallet-style screens for a multi-chain walkthrough, Exodus-style screens for a visual portfolio and allocation shot, or Ledger Live-style screens for a simulated device-management lesson. Every plan includes all four crypto wallet interfaces, so you can explore a different option without buying a separate wallet.
Before you start
- A one-sentence description of your fictional scene or demonstration.
- A list of the assets and interactions that need to appear.
- A phone for checking how the selected screens read at recording size.
Choose in four decisions
The best fit is the interface that supports your actual shot list.
Write the moment you want to show
Describe what the viewer should understand: a character checks SOL, a presenter explains asset allocation, or a teacher opens a simulated device manager. Keep it to one main action before choosing the wallet.
Match the interface to that moment
Use Phantom for a Solana-focused mobile scene, Trust Wallet for several networks, Exodus when allocation is part of the explanation, and Ledger Live for the relationship between a simulated device and its accounts. Follow the wallet links below to see a worked scene for each.
List the screens you will visit
Write the opening screen, the interaction and the ending screen. A simple portfolio shot needs fewer controls than a walkthrough with token details or transfers. Check the existing simulator feature page for the option you choose.
Review the framing on your phone
Check that the asset names and figures you need are legible at the size your audience will see. Rehearse the sequence before recording, and plan where a visible simulation label will appear in the finished video.
If something goes wrong
- Two interfaces seem suitable.
- Use the one your intended audience recognizes and whose screens best fit the sequence. You can access all four crypto wallets with the same plan; there is no need to force every scene into one interface.
- The scene needs a physical device confirmation.
- A simulator can show companion-app concepts, but cannot perform a real physical confirmation or sign a transaction. Revise the demonstration to explain that boundary rather than presenting a simulated action as a real security operation.
- The screen is too busy in the final video.
- Reduce the number of holdings and actions in the shot list. Test a short recording at the final viewing size before preparing the full sequence.
Choose a LARP wallet for your scene FAQ
Do I buy each LARP wallet separately?
No. RPWallet plans include the supported wallet collection. Plan duration and device limits determine your access, rather than a separate purchase for each crypto wallet interface.
Does the choice change whether real funds are involved?
No. All RPWallet interfaces are simulations. None of them holds cryptocurrency, asks for a recovery phrase or broadcasts a transaction.
Where do I go after choosing?
Use the setup guide to activate your access and install the app, then plan the balances and sequence your fictional scene needs. The recording guide covers capturing the result on your phone.
Next guides
Plan a LARP wallet video
Plan a fictional LARP wallet video with a simple shot list, consistent token quantities, a rehearsal and clear simulation labeling.
How to larp a crypto wallet
The full walkthrough: pick the wallet interface that fits your story, get it on your phone, configure a clearly disclosed simulated portfolio, add supporting activity, and check the finished capture. Covers Phantom, Trust Wallet, Exodus and Ledger Live.
Install on iPhone
Step-by-step: install RPWallet on an iPhone or iPad as a Progressive Web App straight from Safari. No App Store listing, nothing to sideload, no TestFlight, no jailbreak — and no Safari address bar in your screenshots.
Every RPWallet guide
Setup, balances and tokens, and content — the full index.
Keep reading
One collection. Your choice of scene.
No download, no seed phrase, no real funds. Installs to your home screen on iOS and Android in about two minutes.